Connecting the water supply
All kitchens need water.
from the well a pex hose has been routed under the cabin, this hole in the floor was too much work to relocate, thus as for the microwave oven in the corner cabinet, the kitchen has been modeled around this "feature".
No pressure, no water.
-20230514
Previous setup got too cold for survival, the hydrophore cracked and fell apart, new one is needed.
For the new setup I will stack the components in the following order:
* Hydrophore
* outlet to houses
* inlet from pump in well
*quick drain valve -lowest point.
All will be placed on the wall to allow for easy access and the possibility to drain the entire system by opening the valve.
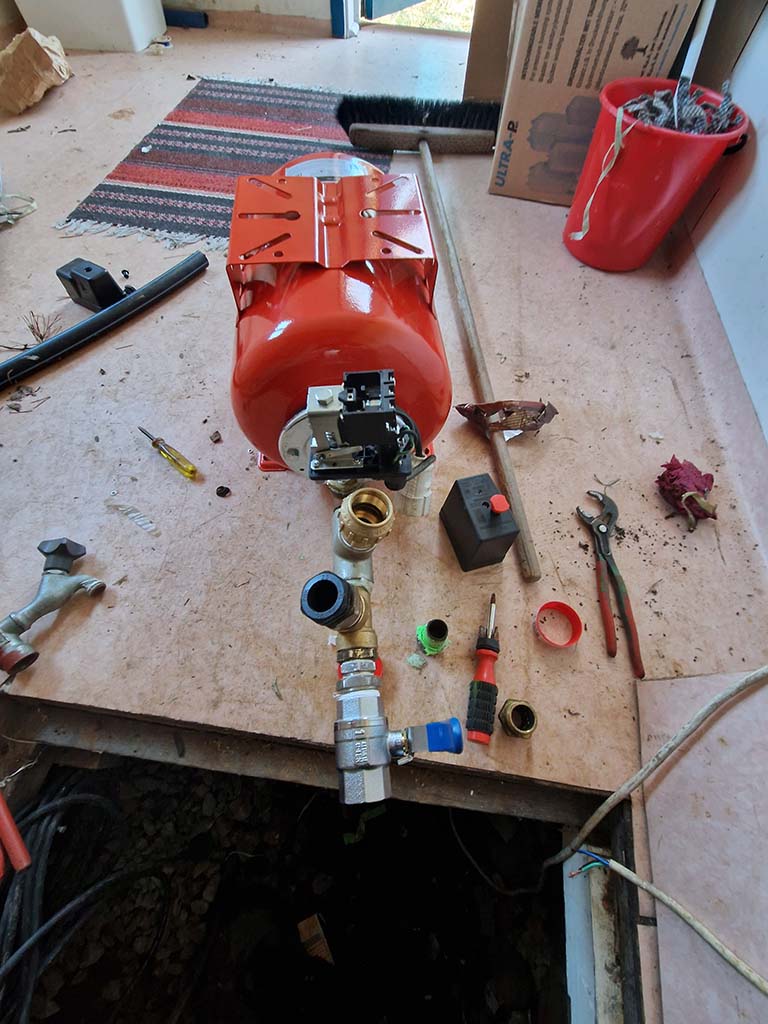
Stacking of components.
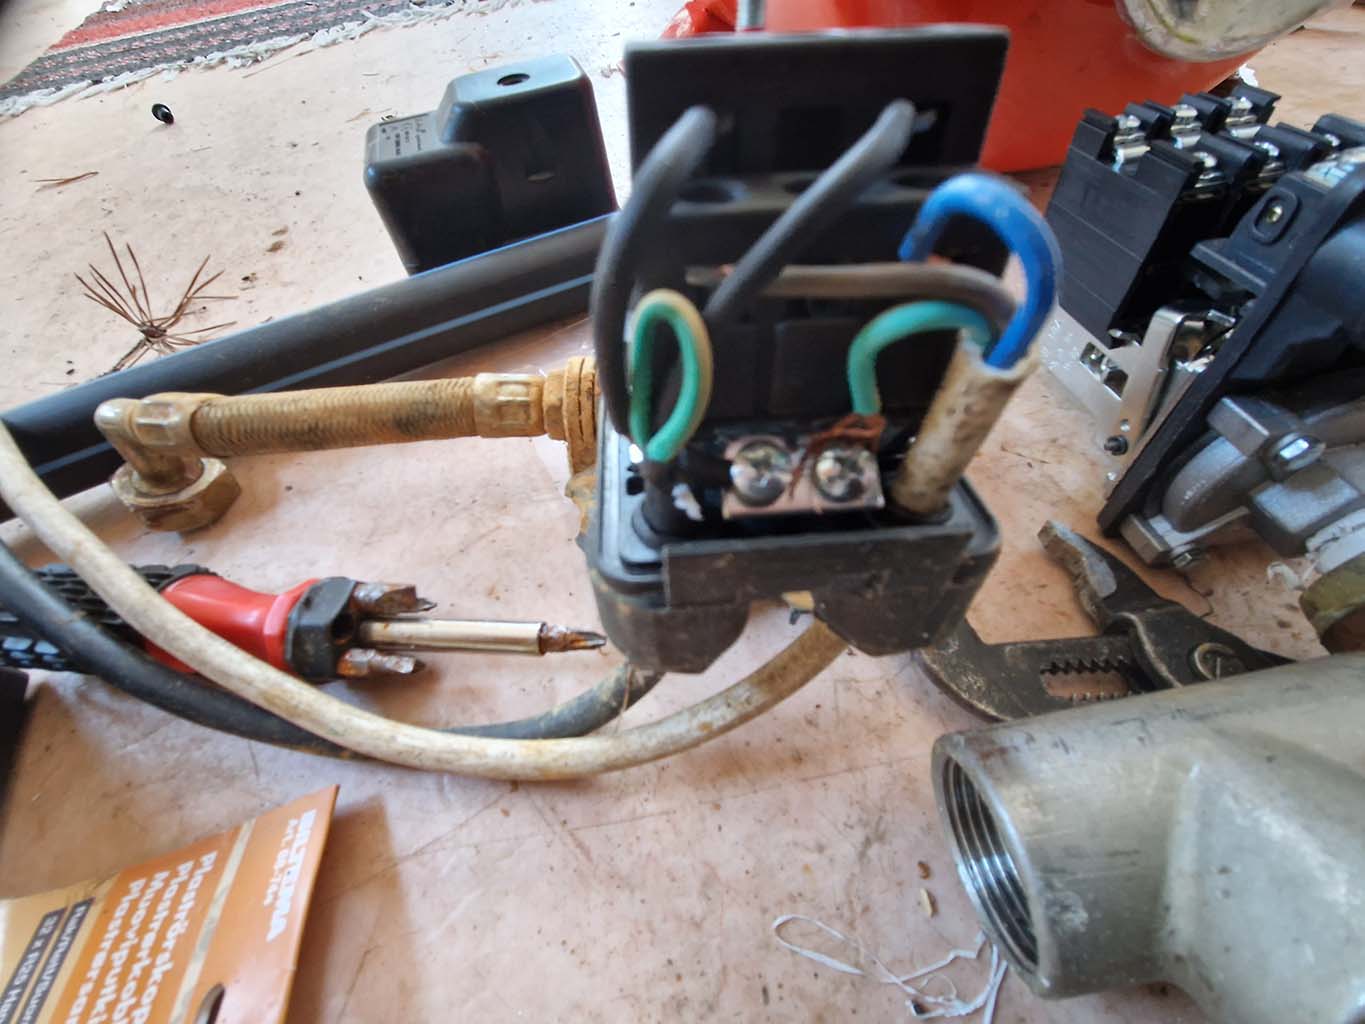
Previous pressure switch connections.
-20230521
All mounted to wall, time to test.
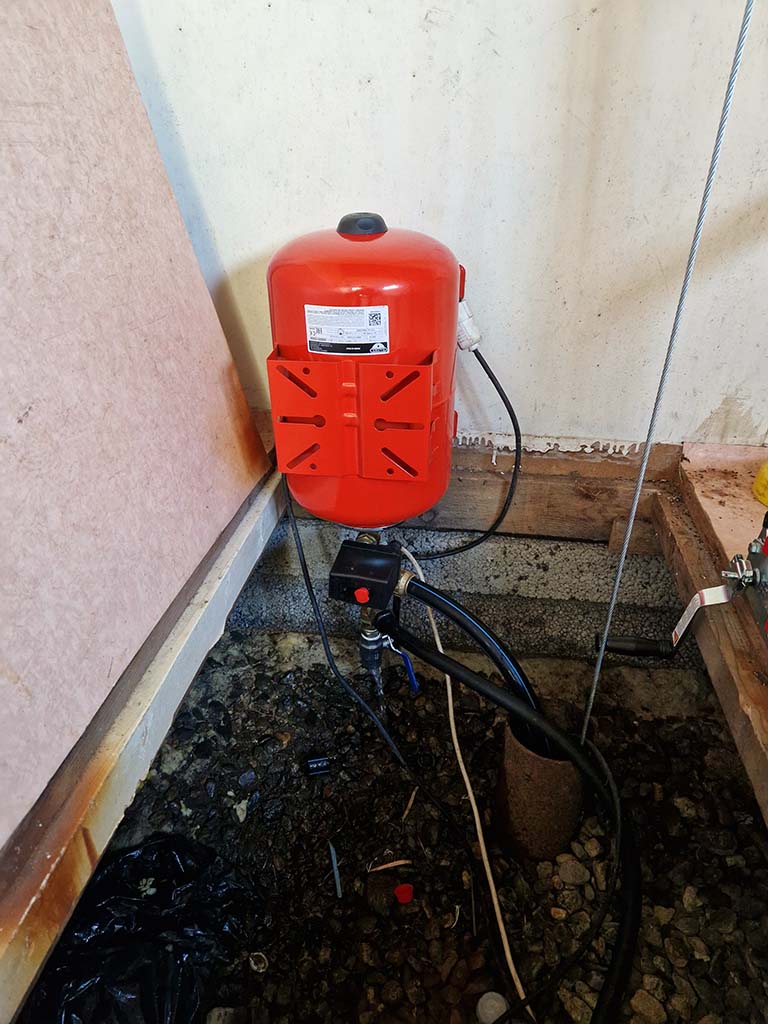
Stacked and mounted.
It was quite evident it did not build pressure. tool a walk acroos the yard and looked for leaks.
found a broken connection that needed mending.
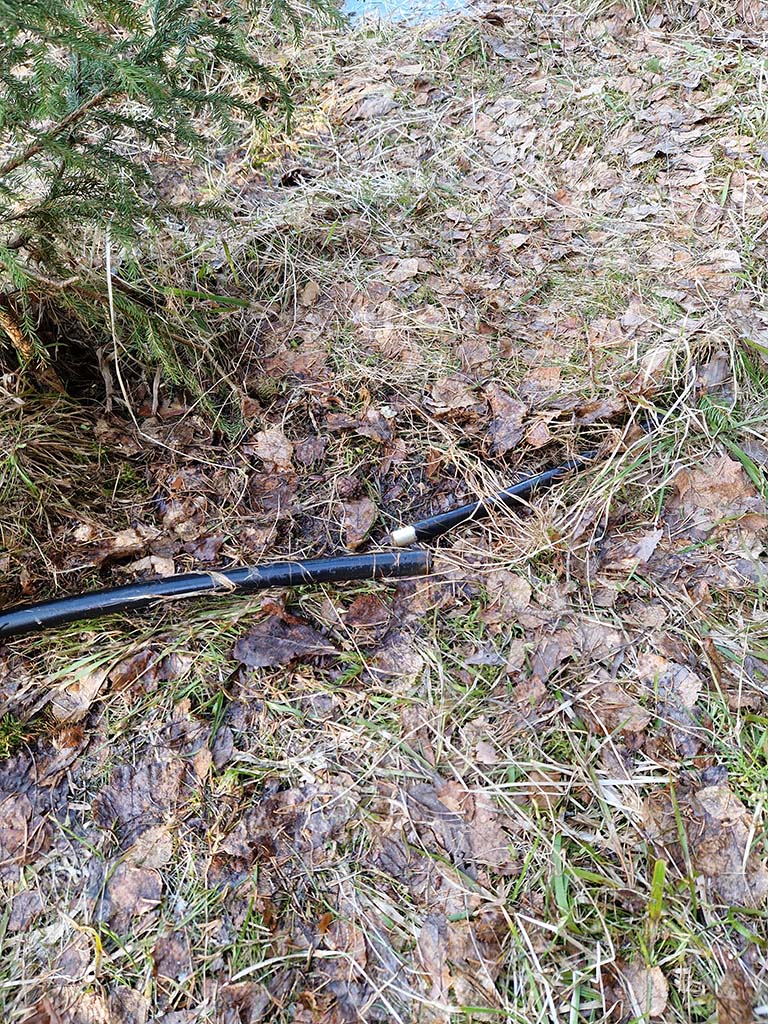
Repair and restest.
Pressure is building and all seems ok.
Setting up the new pipes
-20241012
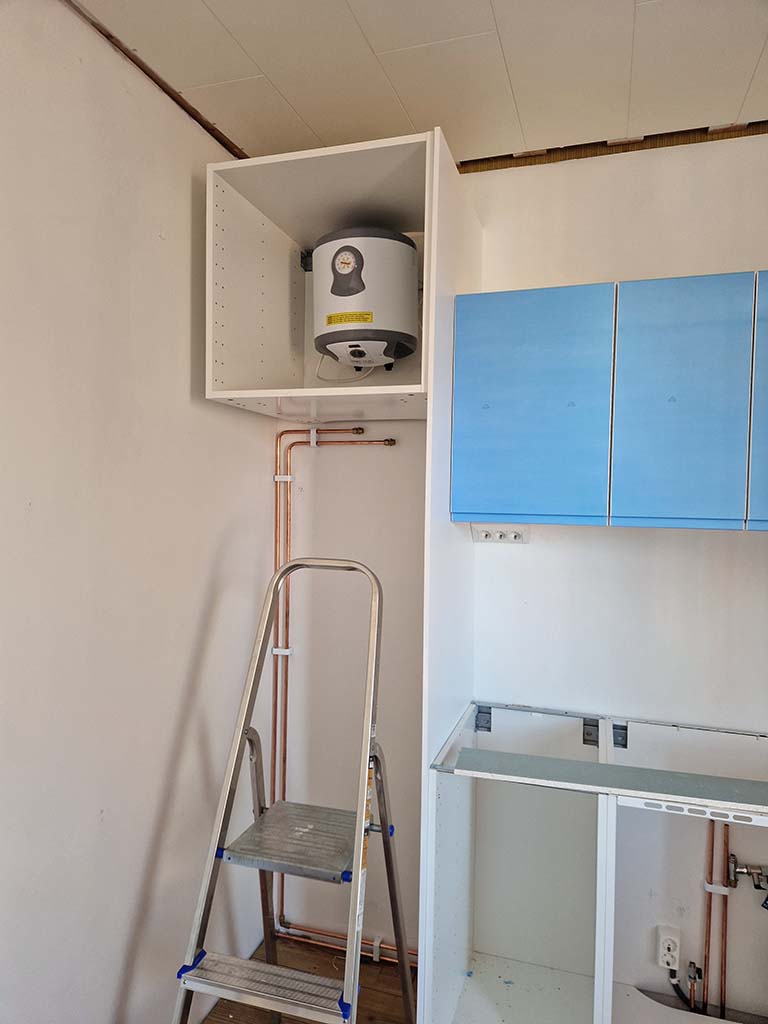
Since hot water does not enter the house from the well a water heater is needed.
a sammelr one, about 10l is better than nothing, most likelt can be upgraded if need arises.
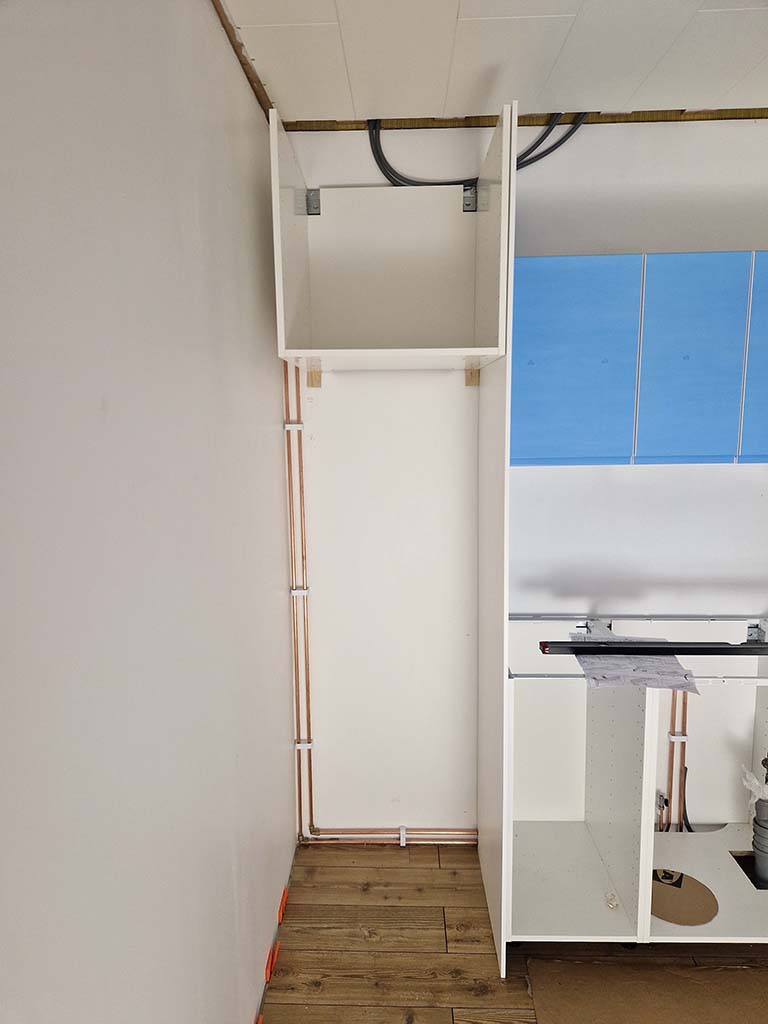
I want it hidden away, therefore placeing it in a cabinet above the fridge.
Not tightenning of any connections yet since mockup is still in progress.
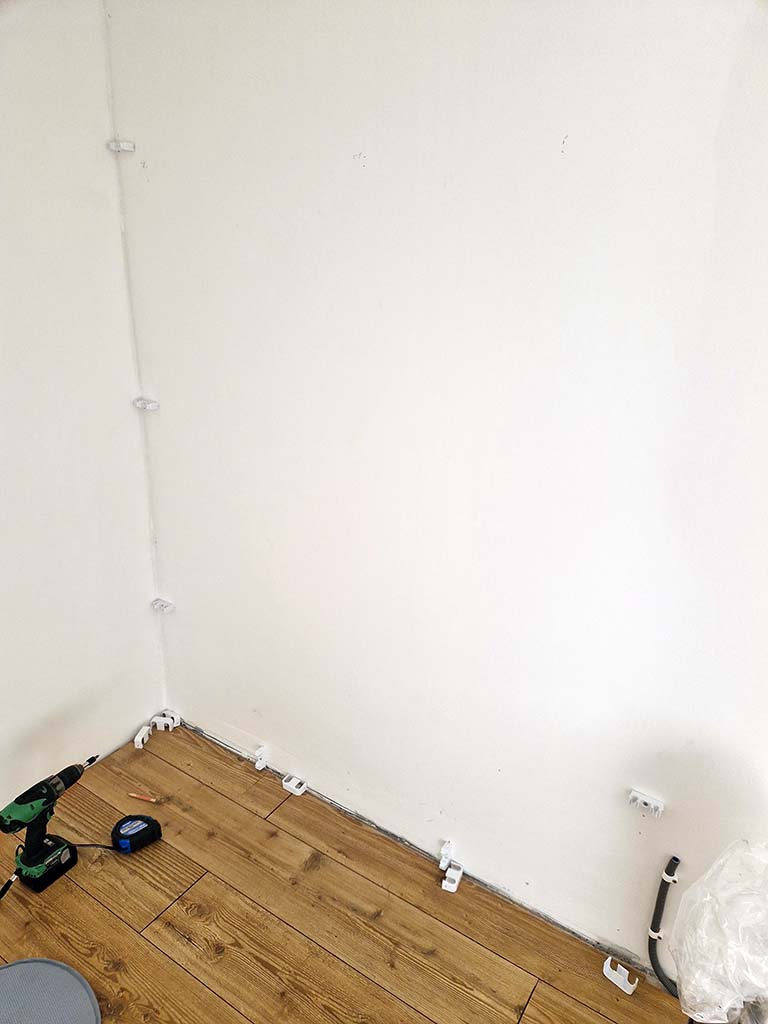
Spacing out fasteners.
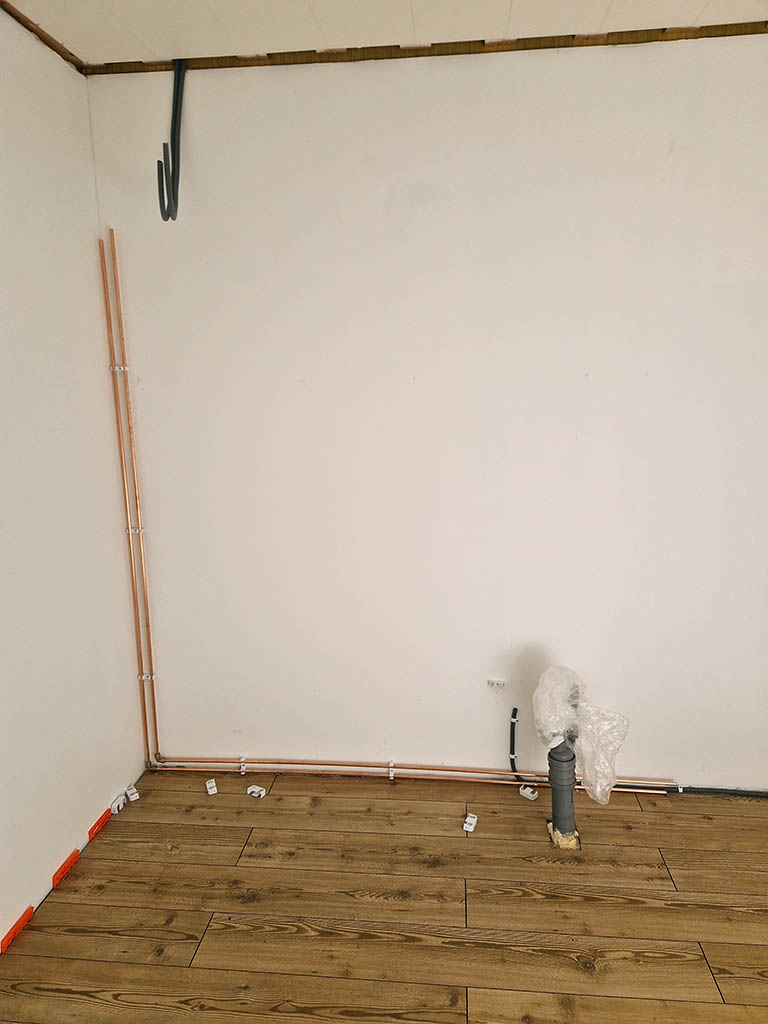
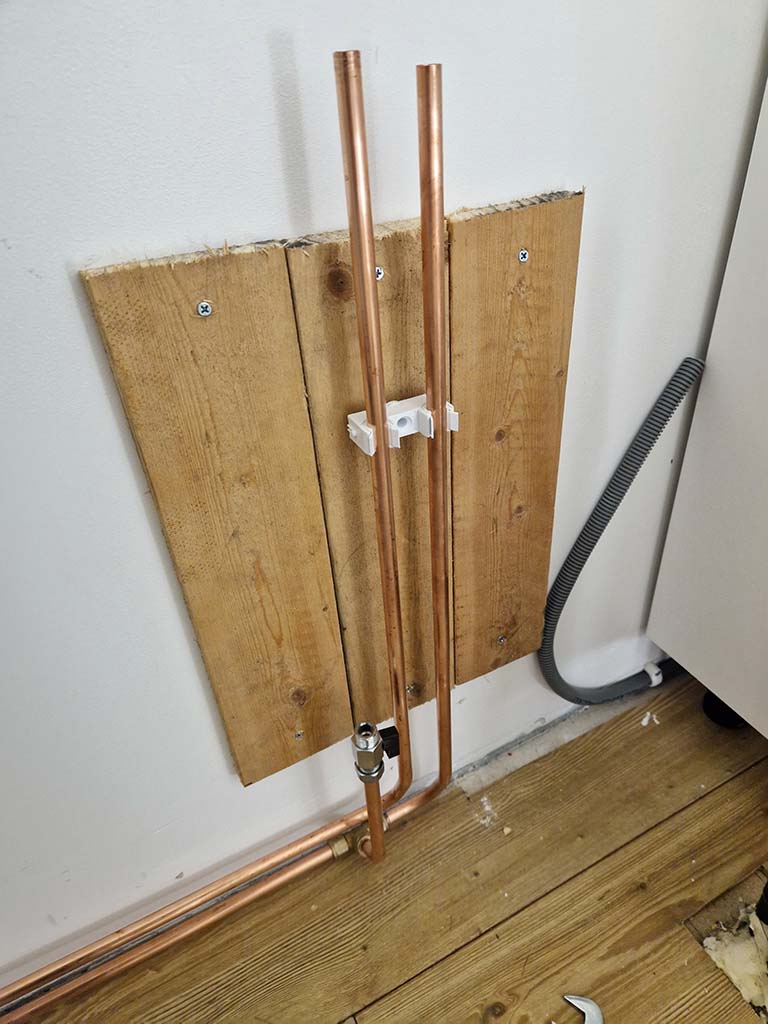
first 90° jpont in place.
Wall mounts are not final, cabinets willbe installet with the pipes inside.
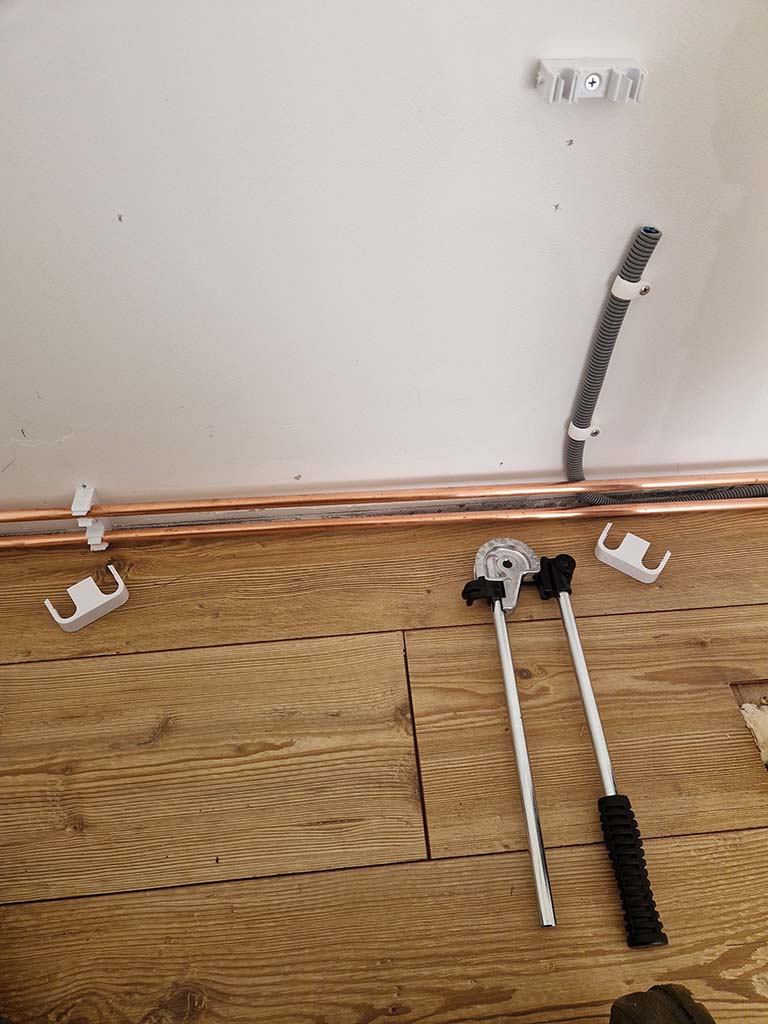
Some pipes to bend.
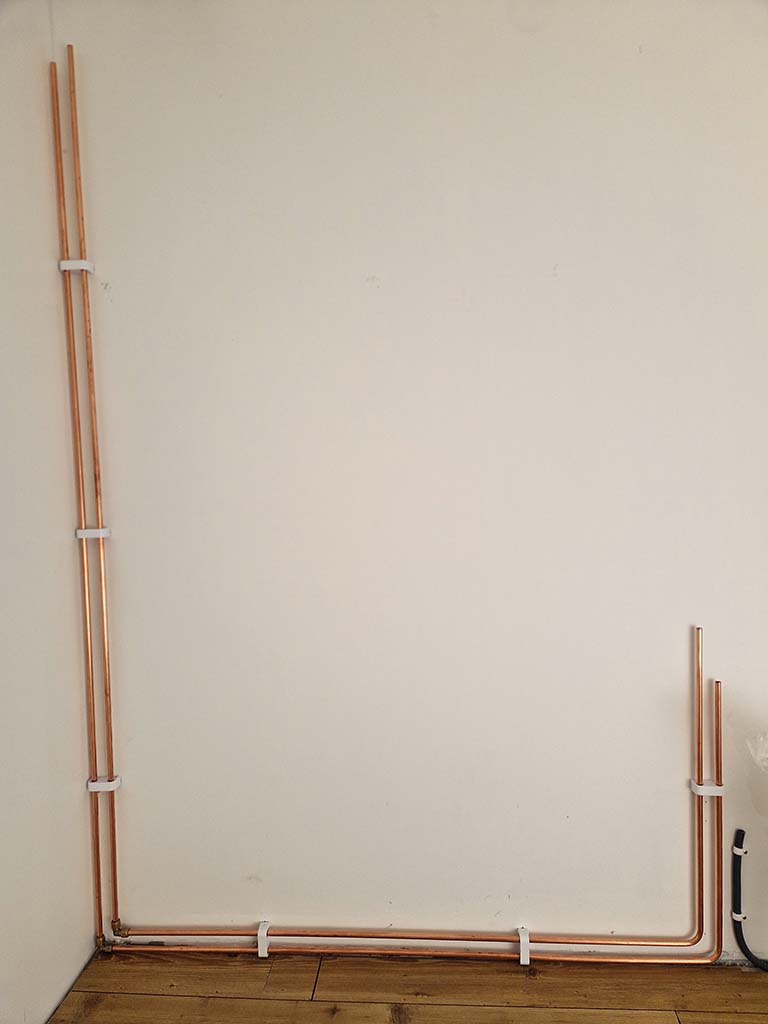
First two bends in place.
-20241023
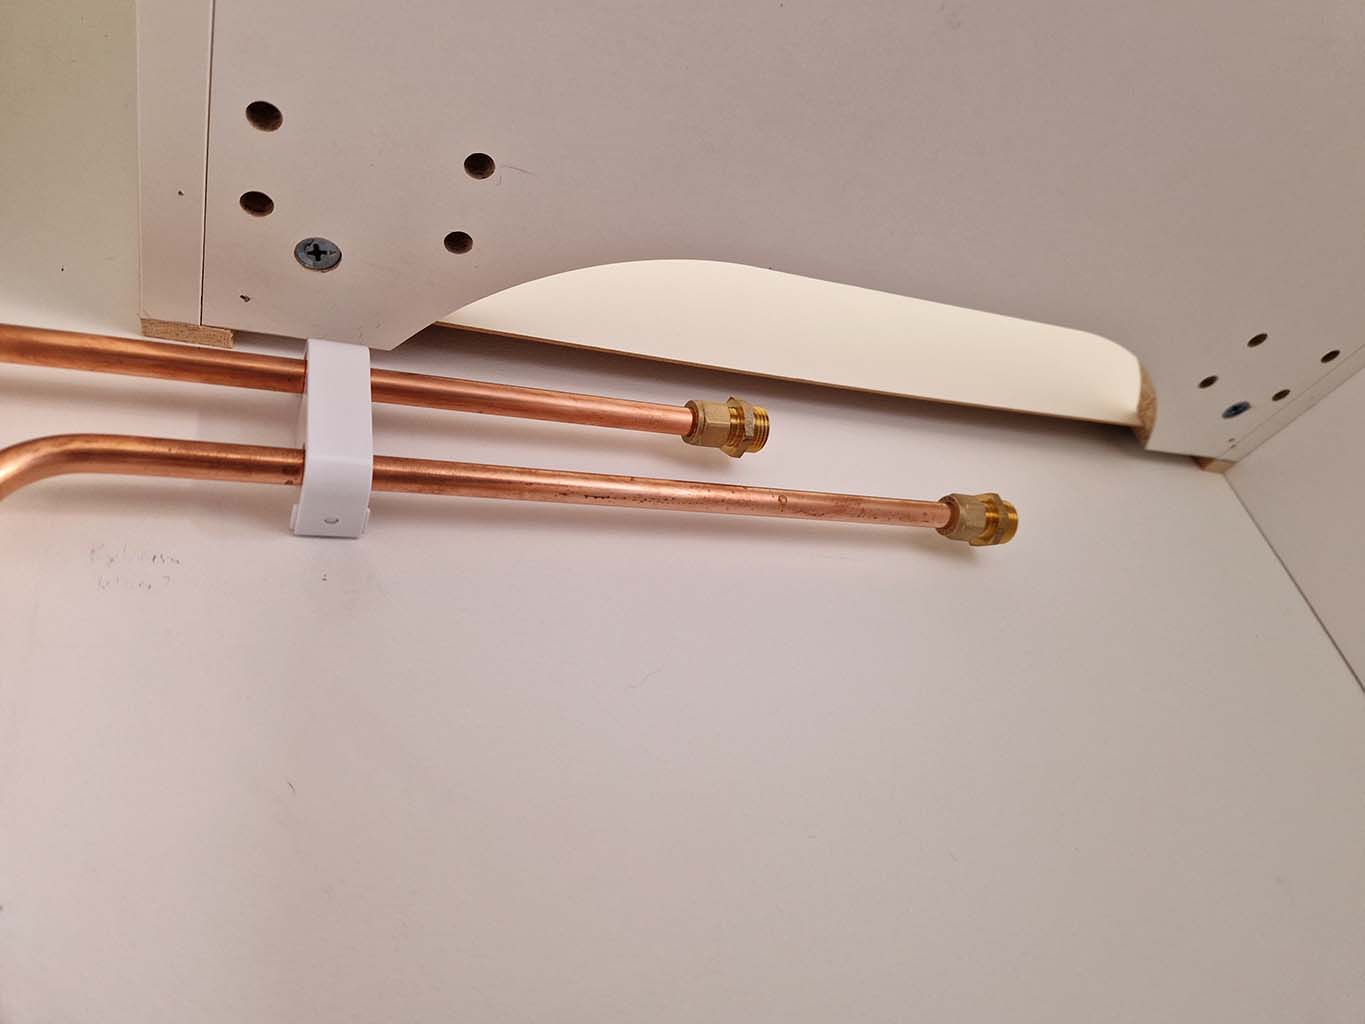
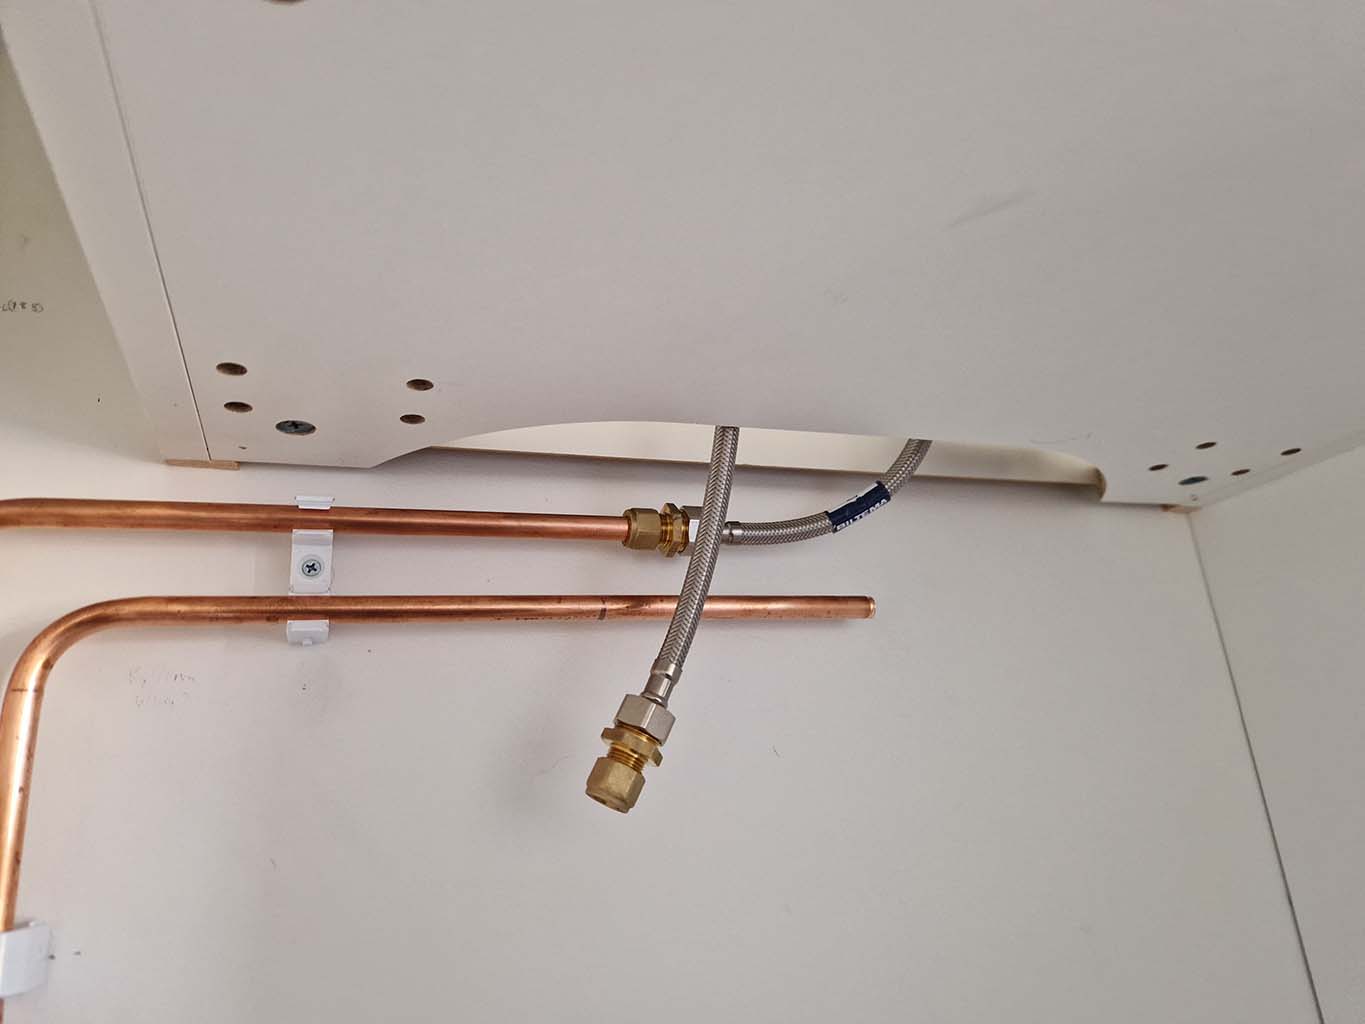
A standoff is added to the wall, this will also be used to mount outlet to fridge.
Also added is a break out pipe to the heater feed line. thiss can now be used to pump compressed air into the pipes to help empty the water from the heater.
Standoffs testmounted on support.
Measurements are taken and the basin cabinet gets a hole cut
for the drain and inlet to house.
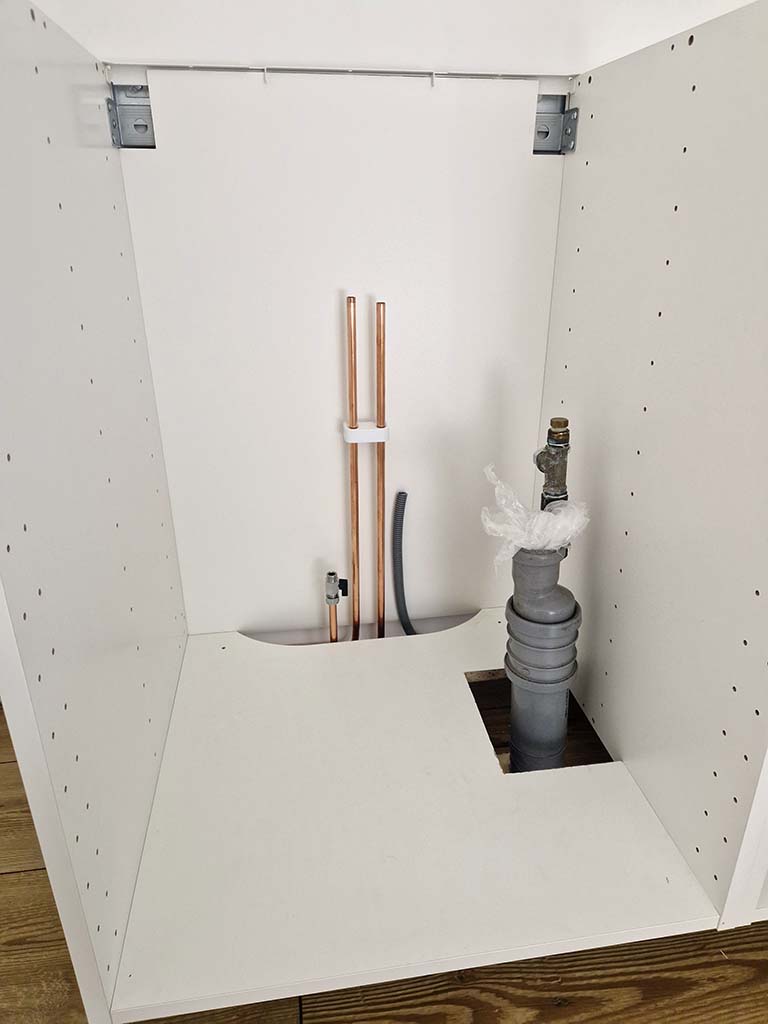
Drain has good clearance.
-20241102
3D printed standoff is added to secure the valve
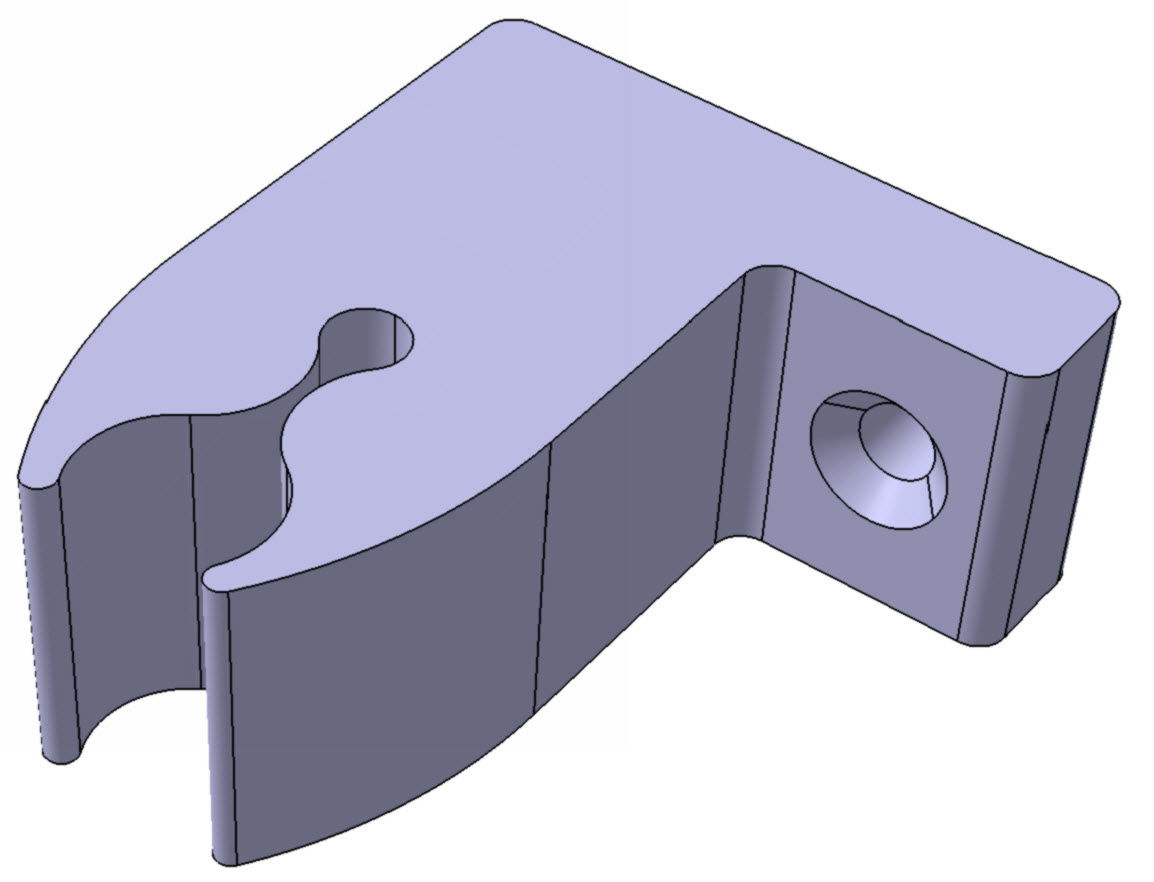
Clamp to be printed.
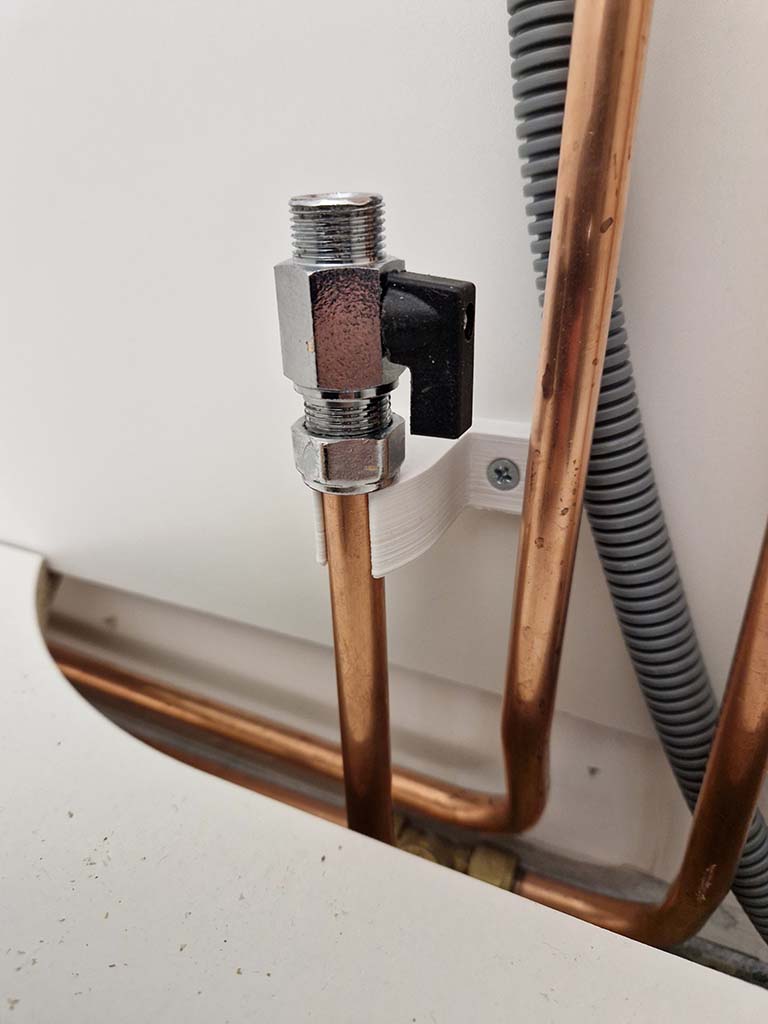
Clamp is made out of PETG.
-20241104
Cabinet in place just to check bend.
Forgot to take a picture of the bends underneath.
-2024117
Planning to use a diy leak tester, just to avoid getting water averywhere before
lettiing in water. sourced a few components and assembled this contraption:
leaktester.
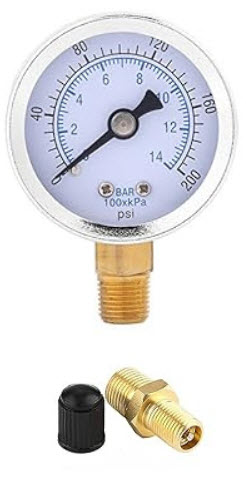
Gauge, schrader valve..
-2024118
Planning the setup for pressure safety valve and inlet shutoff.
More suitable location for the safety valve is in the basin cabinet.
the hose can be routed directly to drain.
Additionally, house inlet can be shut off for maintenace.
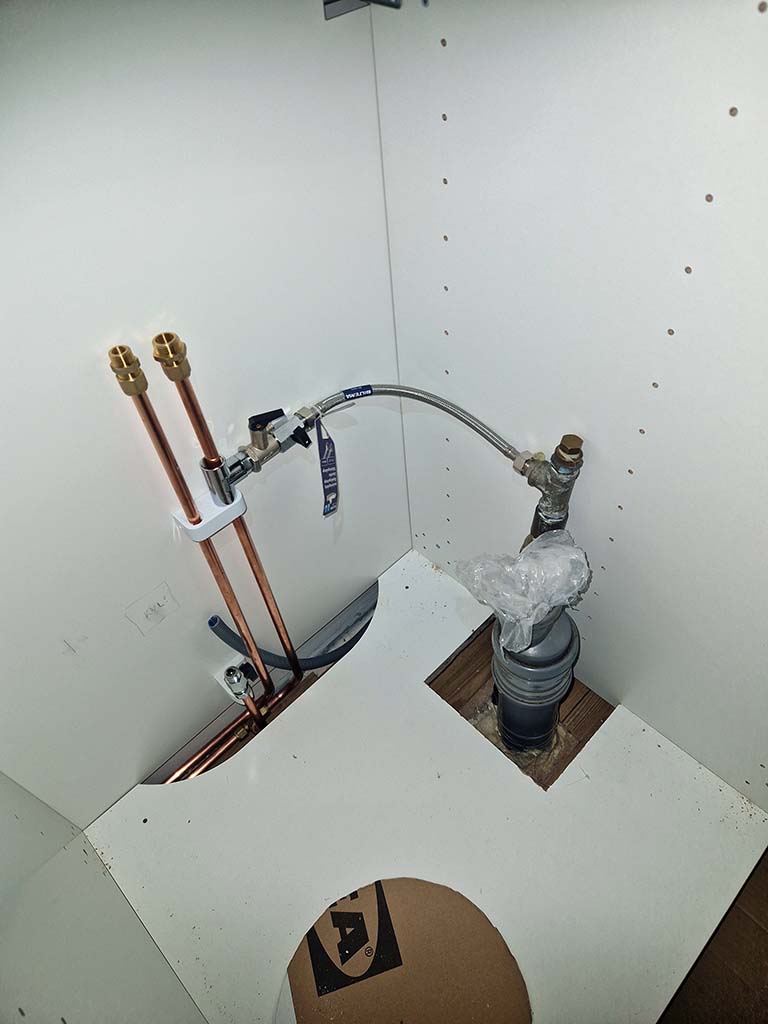
Close to wall bend seems ok.
Winter has arrived, no more pipeworks for this year.
-20250420
Time to add heater to cabinet.
cardboard template to check clearance

Perfectly sized for 600mm cabinet.
Started marking where to vut the inlet pipes for T connector.
decided to wait untel countertops have been cut into place.
Marking for cuts.
The pipes where bent and mounts added to wall.
Adding mounts.
-20250421
To get the level correct-ish, modifications and custom made standoffs had to be made for all cabinets.
Heater fits nicely,
Marking pipes before cutting.
Smooth bend is safer.
TBC
-20250503